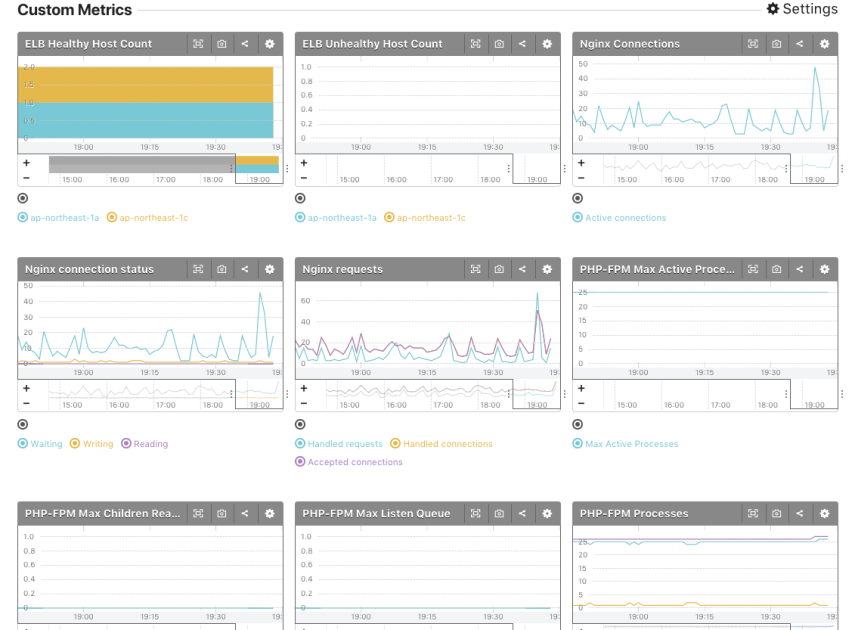
Mackerel is a server monitoring service that also supports AWS cloud products. Using the CloudWatch (an AWS monitoring service) API, various AWS cloud products (such as ELB, RDS, and ElastiCache) can be monitored with Mackerel. The only required configurations for Mackerel are registering the read-only access key and making a simple selection. In this post I'll show how to configure mackerel to monitor ELB and RDS.
IAM User Creation
We need an AWS IAM user with the following policy.
- CloudWatchReadOnlyAccess
You can create the user from AWS Console or AWS CLI.
From AWS Console
- Login to the AWS IAM console and go to the Users section.

- Select
Add user.
- Fill out the form.
- Input an username for Mackerel-agent. e.g-
mackerel-agent. - Select AWS access type-
Programmatic access.
- Input an username for Mackerel-agent. e.g-
- Select
Next: Permissionsto go to the next page.
- Attach the policies for the user
- Select
Attach existing policies directlyunderneathSet permissions for YOUR-USERNAME - Search for
CloudWatchReadOnlyon the filter section. - Check
CloudWatchReadOnlyAccess
- Select
- Select
Next: Reviewto go to the next page.
- Select
Create user - You’ll get a success message.

- Select
Download .csvto downlod the user credentials and don’t lose it. Alternatively, you can copy theAccess key IDandSecret access keywhich we’ll use in next.
From AWS CLI
$ USER=mackerel-agent
# Create IAM User
$ aws iam create-user --user-name $USER
{
    "User": {
        "UserName": "mackerel-agent",
        "Path": "/",
        "CreateDate": "2018-01-15T10:04:13.381Z",
        "UserId": "XXXXXXXXXXXXXXXXXXXXX",
        "Arn": "arn:aws:iam::999999999999:user/mackerel-agent"
    }
}
# Attach Access Policy
$ aws iam attach-user-policy --user-name $USER --policy-arn arn:aws:iam::aws:policy/CloudWatchReadOnlyAccess
# Generate AccessKey
$ aws iam create-access-key --user-name $USER
{
    "AccessKey": {
        "UserName": "mackerel-agent",
        "Status": "Active",
        "CreateDate": "2018-01-15T10:06:33.644Z",
        "SecretAccessKey": "YYYYYYYYYYYYYYYYYYYYYYYYYYYY/zzzzzzzzzzz",
        "AccessKeyId": "WWWWWWWWWWWWWWWWWWWW"
    }
}
Mackerel plugins configuration
I’m writing the commands as Amazon Linux. The commands may be different based on operating system.
-
Install mackerel-plugins with the following command.
sudo yum install mackerel-plugins
ELB
-
Open config file and enable plugin
sudo vi /etc/mackerel-agent/mackerel-agent.conf
-
Add the following code on the config file.
# /etc/mackerel-agent/mackerel-agent.conf # mackerel-plugin-aws-elb [-lbname=
] [-region= ] [-access-key-id= ] [-secret-access-key= ] [-tempfile= ] [plugin.metrics.aws-elb] command = "/usr/local/bin/mackerel-plugin-aws-elb -lbname=ELB_NAME -region=REGION -access-key-id=AWS_ACCESS_KEY_ID -secret-access-key=AWS_SECRET_ACCESS_KEY" -
Restart mackerel
sudo service mackerel-agent restart
RDS
-
Open config file and enable plugin
sudo vi /etc/mackerel-agent/mackerel-agent.conf
-
Add the following code on the config file.
# /etc/mackerel-agent/mackerel-agent.conf # mackerel-plugin-aws-rds -identifier=
[-region= ] [-access-key-id= ] [-secret-access-key= ] [-tempfile= ] [-metric-key-prefix= ] [-metric-label-prefix= ] [plugin.metrics.aws-rds] command = "/usr/local/bin/mackerel-plugin-aws-rds -identifier=DBIDENTIFIER -region=REGION -access-key-id=AWS_ACCESS_KEY_ID -secret-access-key=AWS_SECRET_ACCESS_KEY" -
Restart mackerel
sudo service mackerel-agent restart


