
Automation is key to continuously manage application performance. Blackfire provides a feature that helps developers trigger performance tests on an application and be alerted whenever a problem occurs. We can set it up only in five minutes.
Noted that, this is only available to Premium and Enterprise Users.
Assuming you already have setup blackfire on your server. If not, then set it up with this instruction
Now, let’s start with the summary-
- Copy/paste the example tests from blackfire doc in a
.blackfire.ymlfile at the root of your code repository - Add your homepage as a first test scenario in that same
.blackfire.ymlfile - Configure a periodic build
- Configure an e-mail notification
Description
- Create a file named
.blackfire.ymlon your project root.vi .blackfire.yml - Put the following codes into the file.
# This is the test cases, which we want to test
# To know more, visit https://blackfire.io/docs/cookbooks/tests
tests:
    Pages should be fast enough:
        path: /.*
        assertions:
            - main.wall_time < 800ms
            - main.io < 200ms
            - main.cpu_time < 600ms
    Pages should not consume too much memory:
        path: /.*
        assertions:
            - main.memory < 50M
            - main.peak_memory < 75M
    Pages should not do too many SQL queries:
        path: /.*
        assertions:
            - metrics.sql.queries.count <= 12
    Pages should be light:
        path: /.*
        assertions:
            - metrics.output.network_out < 200KB
    Pages should not become slower:
        path: /.*
        assertions:
            - percent(main.wall_time) < 30%
            - diff(metrics.sql.queries.count) < 2

# This is scenarios/pages, we want to test. You can add more pages as your requirement.
# To know more, visit https://blackfire.io/docs/cookbooks/scenarios
scenarios:
    Homepage:
        - /
    Login:
        - /login
-
Save and exit.
-
Login to your blackfire dashboard.
-
Select
Create Environmentbutton.

-
Enter
Environment Name&Environment Endpoint. The endpoint is your website address.

-
You can save the settings as your requirment or save as it is.

-
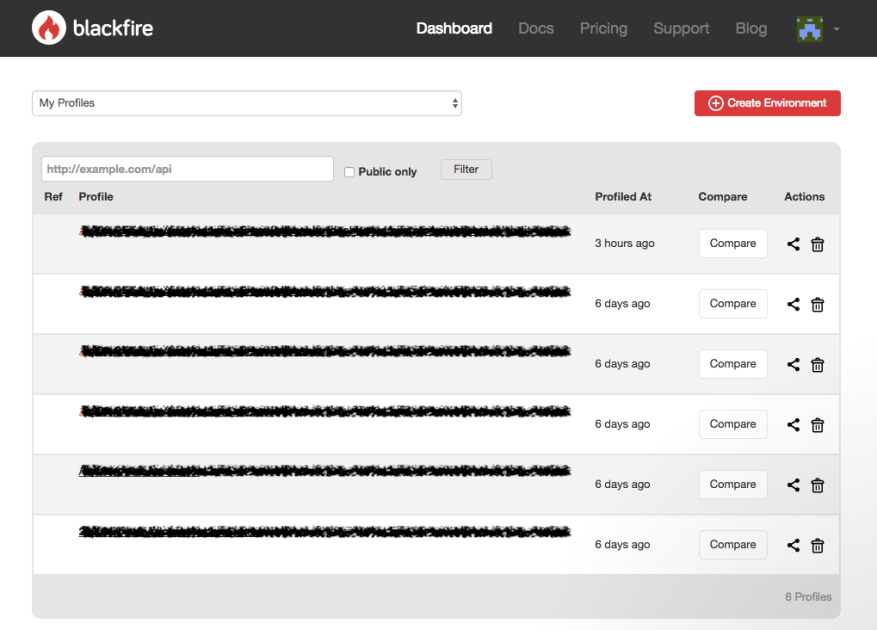
You will get a successful message with server Id and token. Close the popup and go to your
buildssection.

-
You’ll get a right panel with
BuildsandConfigurationsection. You can change it as your requirement.

-
If you’re not
Enterpriseuser, then you’ve to wait forPeriodic Builds. By default it’s on every 6 hours. You can change it down to 1 hour. Select the edit icon ofPeriodic Buildson right top. Change the frequency toEvery hour. SelectTestbutton to test your settings underAdvanced settings.

Now, wait for the Periodic build.

